I got an email from Wayno asking if I could talk to a guy about building a tank "his name is Ed , you met him at Bonneville last year"...... So I send an email to Ed and he writes back wanting to know a few things.
"...............
saw your car in the post on Waynos construction progress ,comments etc ,went to Google and did a search for the Jarman-Stewart Spirit of Sunshine and read on about the 3800 v-6 and looked at some You-tube stuff ,the car sit's right and I like the way the canopy cover blends into the car lines ,plus keeps your head out of the wind
Have been gathering engine parts for some time as well info on the chassis build ,just about to put the engine together ,need a Wayno tank body ,needs to be pancaked like the Jack Kelly tank and or yours as I think that helps the stabiltiy
So just need some how you done it info on the body/chassis build I would say "
I started writing back to Ed and then thought "gee, I wish it was as fast to attach pics to email as landracing.com"....then I thought actually some other people might like to see this.......So,
Hi Ed,
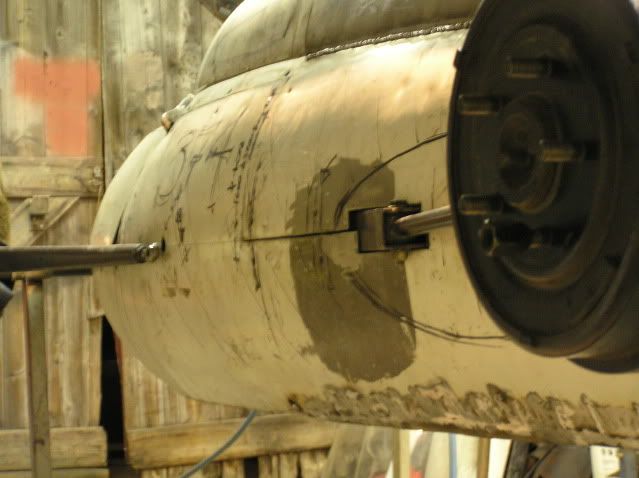
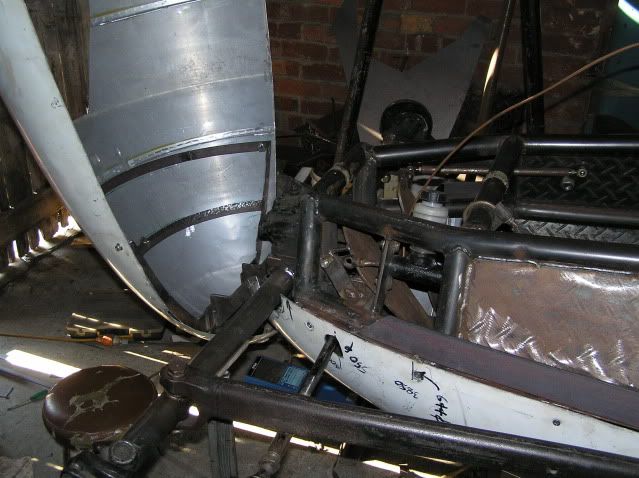
we started with a Canberra wing tip tank turned 90degrees so the attachment point is toward the ground. We cut the bottom flat, not by much , in fact so little that I added about an inch and a half at the point about a foot forward of the rear axle.
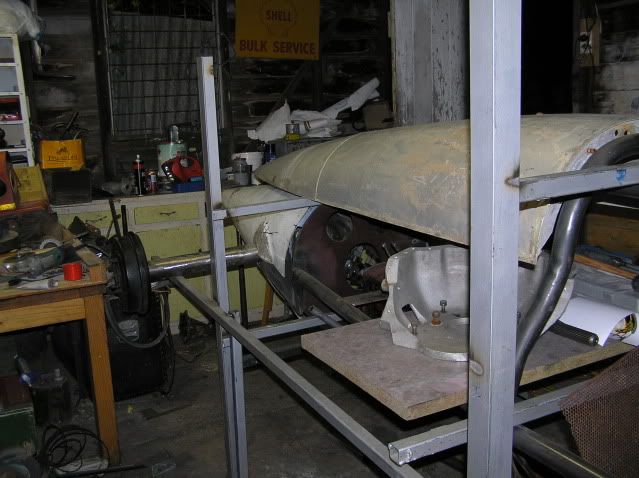
The upper part of the body is half of a F86 Sabre tank cut axially.In this pic you can see we've already cut the Sabre tank, where it ends here is where the firewall will be, the rest of the cowl, the piece over the drivers head was made from the bottom part of the Sabre tank . This worked well as it made the firewall the widest part and the cowl begins to taper in again toward the front, it was a natural transition point.
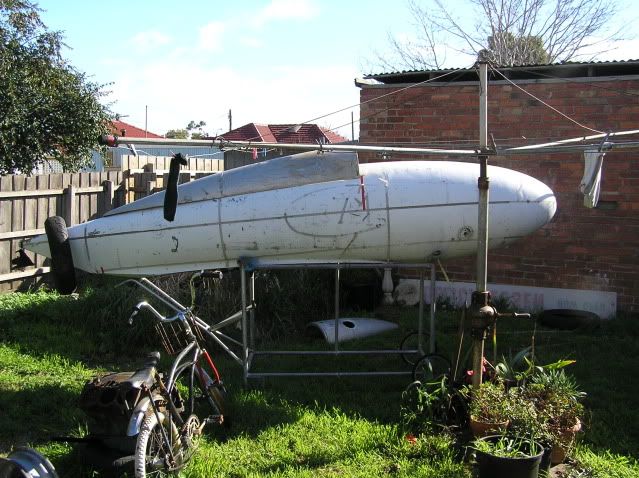
In the background you can see the the lower end piece, we cut the tip off this and made the scoop on the cowl from it.In this next shot you can see where there was a slither added, you can see that the flare that was there is gone.we designed for about an inch and a half clearance at the front rising to about three at the rear axle , this was after considering what the expanding boundary layer would be doing....
On the next shot you can see that rather than use two heavy RSJs for a build jig we built a six poster bed style jig so we could "hang" items from it during construction.This was gradually cut away, initially we had the whole jig within 40thou it gave us a natural centreline and made axle alignment easy.We also steered away from a conventional "chassis" as we were so short of room, we built a spaceframe, as two chassis rails would have limited us either in how low we wanted it or how wide. This entire frame was designed in 3D CAD before we cut a single thing, we also built a 1:10 model AND we built a lifesize frame out of light inch tube to check that everything( at least the big things) would fit in it......
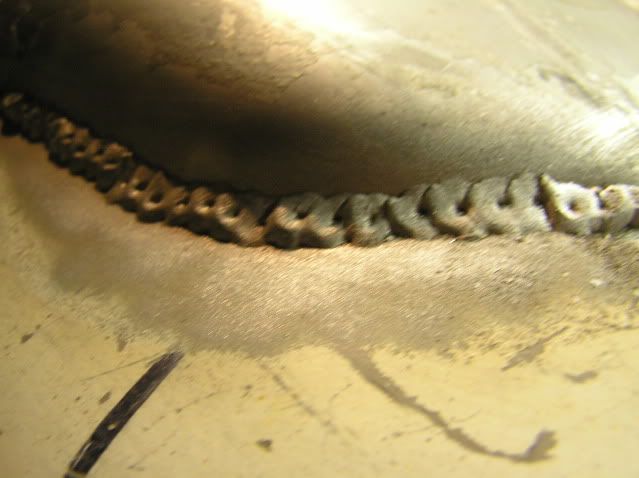
I used a Mig to stick it all together, not ideal but good for areas where perfect prep isn't going to happen..
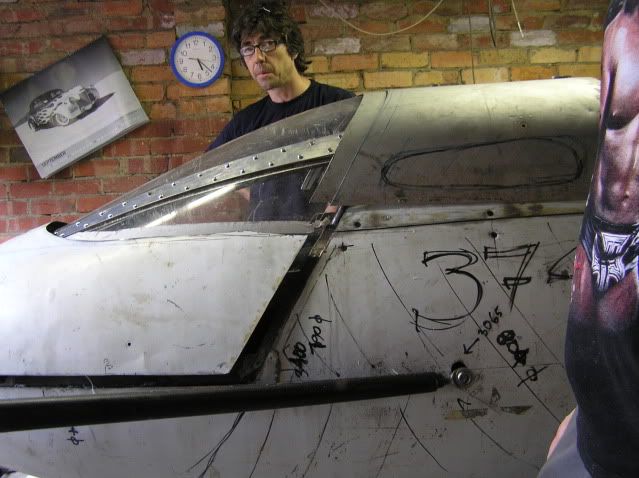
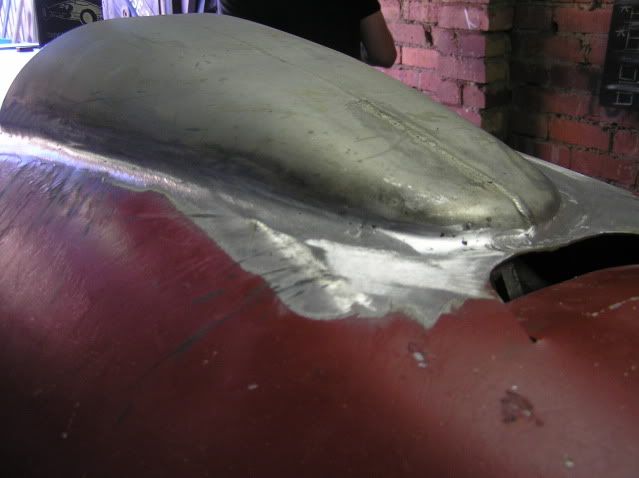
In this shot you can see the way the cowl meets at the firewall........
In this shot you can see that although it sounds simple we had a huge amount of fudging to make everything work
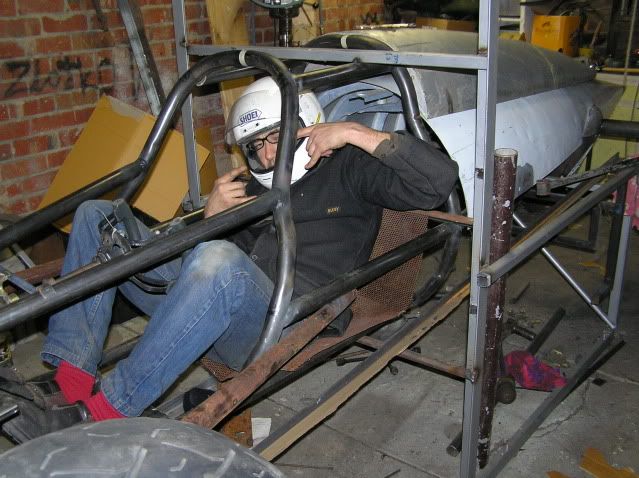
If it wasn't for the Reverend, seen here, it wouldn't have been half as pretty as it is, dunno what he's up to here, but I'm sure it helped.
here he is in the drivers seat, the lines and the stance are getting there....
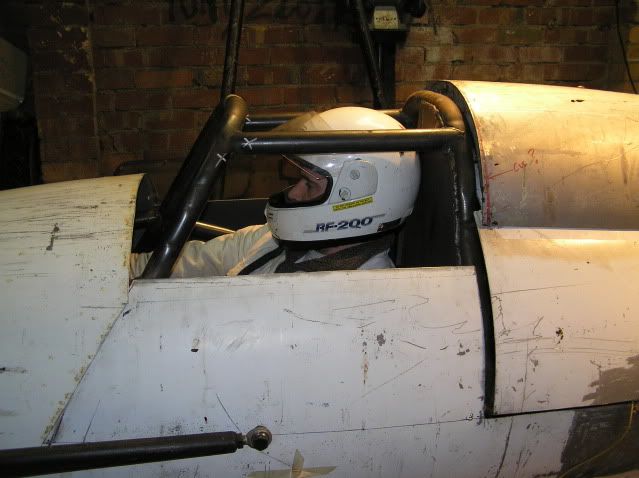
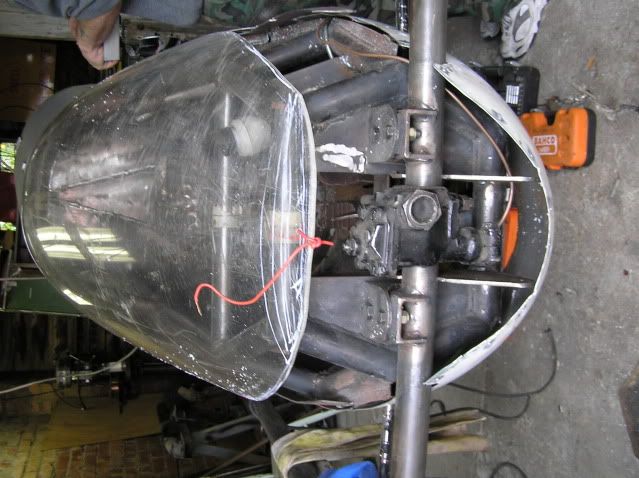
here you see how the axle lies at the centre or waist-line and you can see the beginning of the canopy superstructure..
this shot is after we had cut the Machi jet canopy down but before we had added the straps allowing us to pull the sides in tighter....
Even when I look at the photos myself I see things that I had conveniently forgotten about, truth be known it was a huge amount of work to make those pieces come together. The Reverend has an incredible eye for combining pieces in his head, when he saw the Sabre tank he knew it would fit on top of the Canberra, likewise when he saw the Machi jet canopy he knew it was right for what we wanted...... I can lay claim to the top of the cab and the scoop but that's about it.
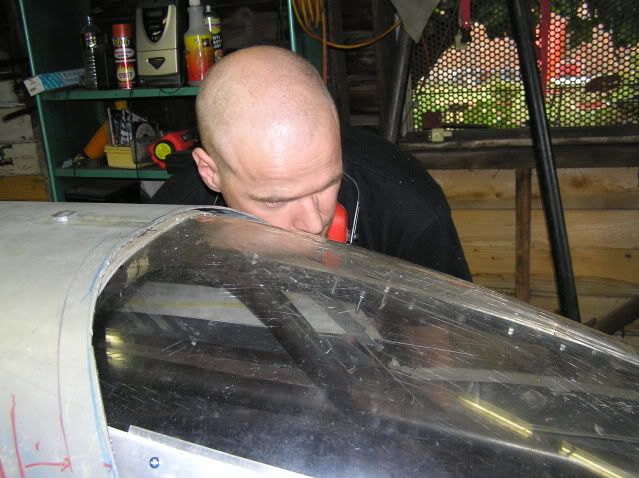
here's the scoop when I welded it on....
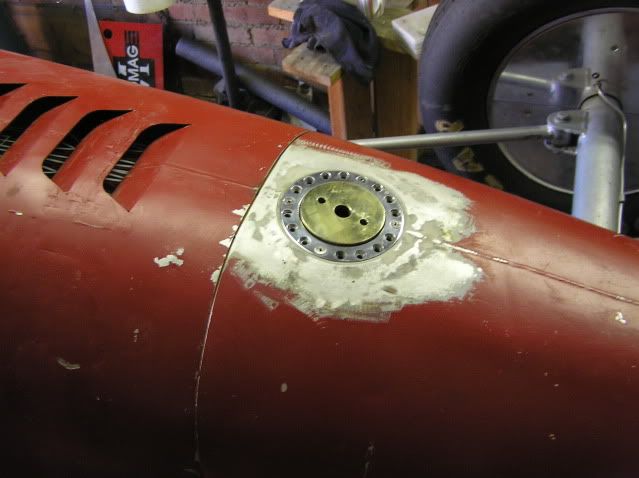
we also used the original filler from the Canberra tank as the fuel filler....
Now, it looks like you'd better sign up here Ed


 Topic: Australian Belly Tank (Read 3516214 times)