Today I was free from work so I spent the morning in the workshop instead, much progress was made since I remember most of the steps from the old JU-01 engine build.
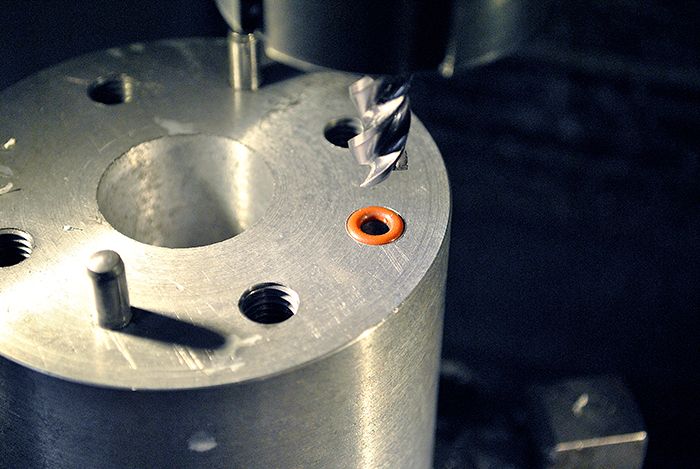
To seal the oil passage I will use a silicone o-ring, here I am turning a stainless sleeve that will keep the o-ring from collapsing when the engine is bolted together.
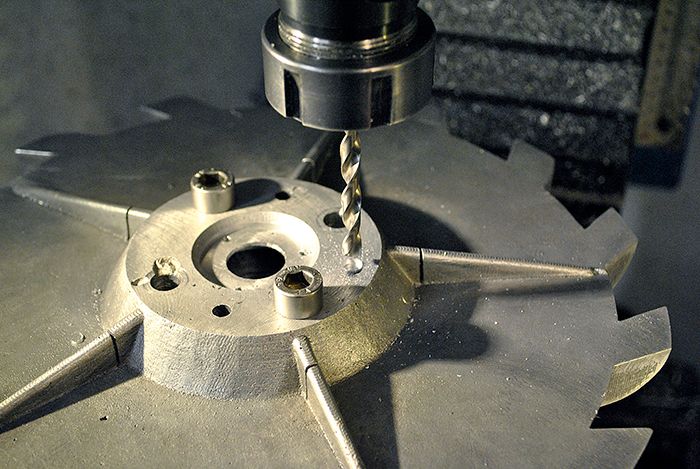
Here I am drilling an 8mm deep hole for the oil passage, after that I used the Dremel to mill a channel into the oil pocket behind the stainless insert and drilled three holes that will let oil in to the back of the thrust washer. I forgot to take any pics of that unfortunately.
With the shaft tunnel still indexed on the rotary table I drilled the other side of the oil passage and milled a seat for the o-ring.
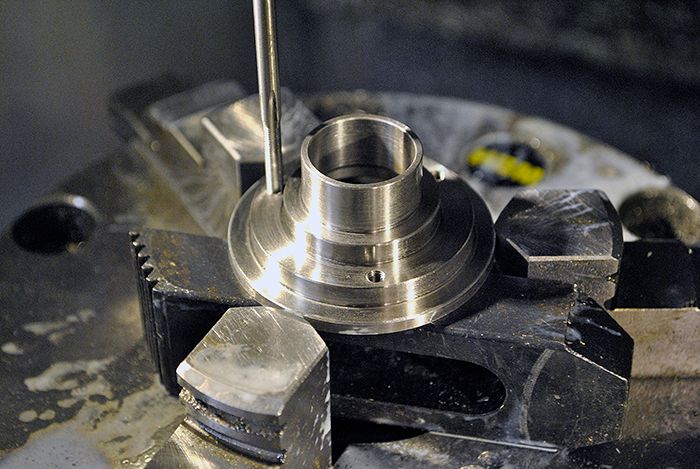
Here I have milled the rear axial washer seat, a delicate job since the depth of the seat determines the axial clearance in the thrust bearing. I have also milled a pocket for the oil to drain down into after passing through the bearing, a channel that connects to the journal bearing drain will be drilled later. A spring pin has also been fitted to keep the rear washer from rotating.
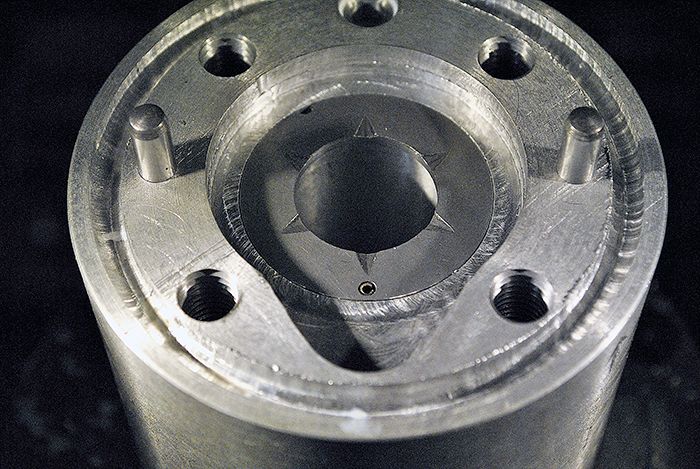
Threading the shaft tunnel for the four M3 screws that will hold the rear washer in place, I did the same modification to the JU-01 engine and found it very easy compared to machining up a sleeve of exact length that will hold the washer in place.
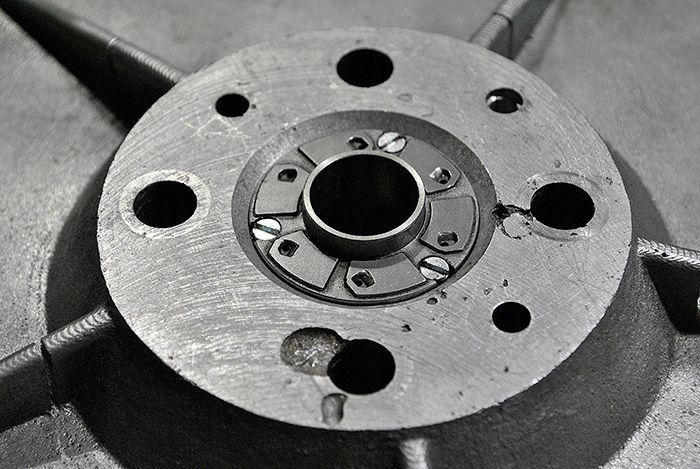
Tightened down properly! You can also see the outer groove for a 5mm silicone rope that will seal the parting surface from oil and air leakage.
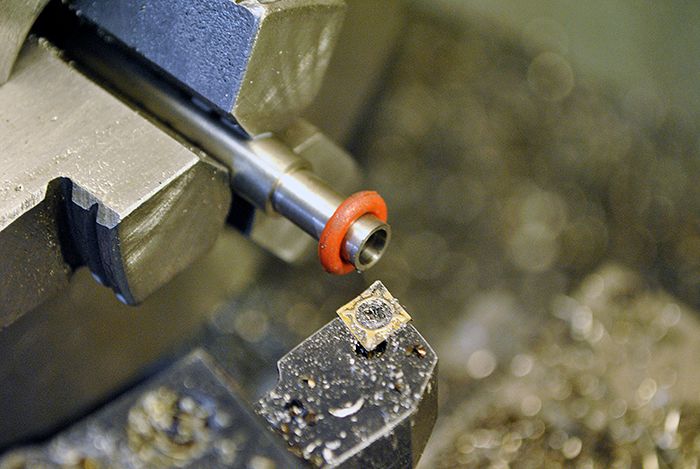
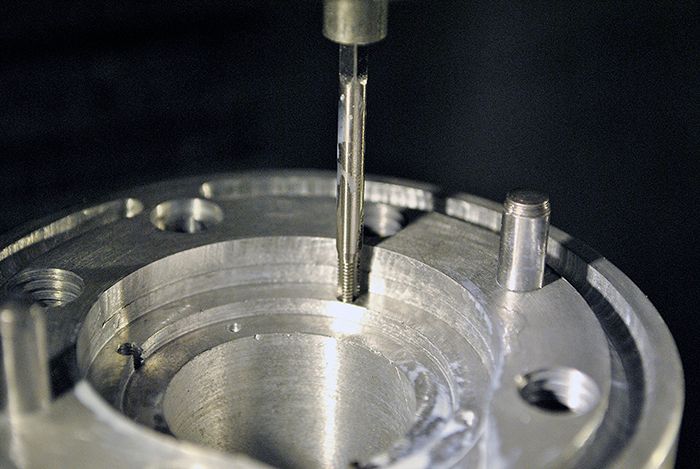
The last job before the thrust bearing is finished, fastening the thrust washer and piston ring seal insert to the diffusor plate. Here I am cutting the M3 threads in the stainless insert.
I´ve decided to use long M3 screws that is fitted from the thrust washer side, goes through the diffusor plate and screws into the insert. This way I can torque together the parts properly without risking to damage the threads if they were cut in the soft thrust washer.
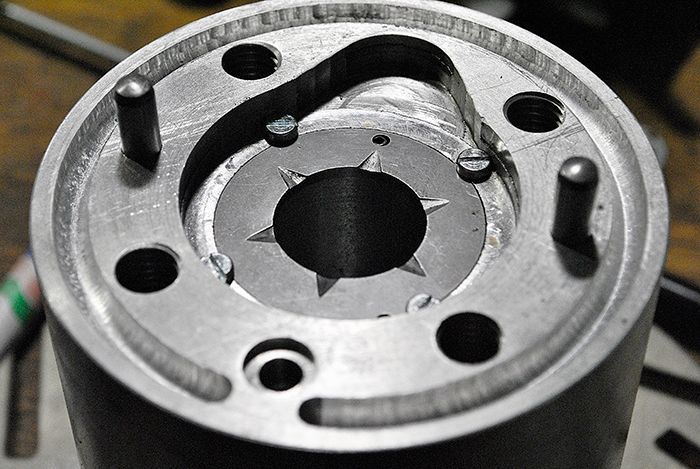
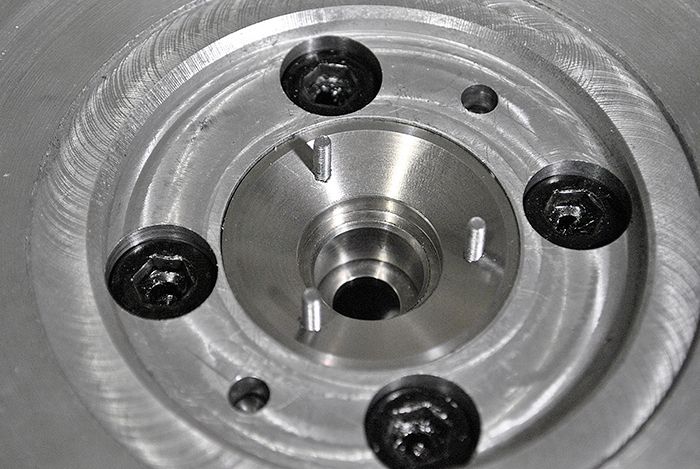
The business end of the same part, the screws need to be shortened down a bit as you can see.
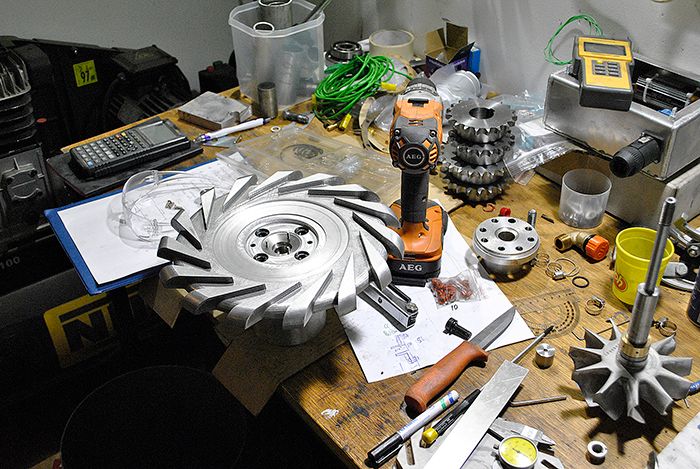
An overview of the assembly table, it might look a bit crowded to a Feng Shui minded person but I can assure you that this is clean compared to the other flat surfaces in the workshop.

Cheers!
/Anders


 Topic: APS/Ω Gas turbine bike build (Read 946007 times)