Hi everyone!
Some of you may have seen this on the HAMB... but I figured I'd post progress here because many of you don't go over there.
I am building a modified roadster to run in the Vintage Flathead Four cylinder class... the current record is 119mph and change...
The car is an original steel '23 Model T roadster... and the rest will be built from scratch.
The first step was to make the frame rails... I made them out of 2" x 6" .125 wall rectangular tubing... and then shaped them to resemble a '32 Ford rail from the side profile. But because the "T" body is paralell under the driver's compartment, I could not use stock or repro' rails... here's a snapshot of the finished side rail:

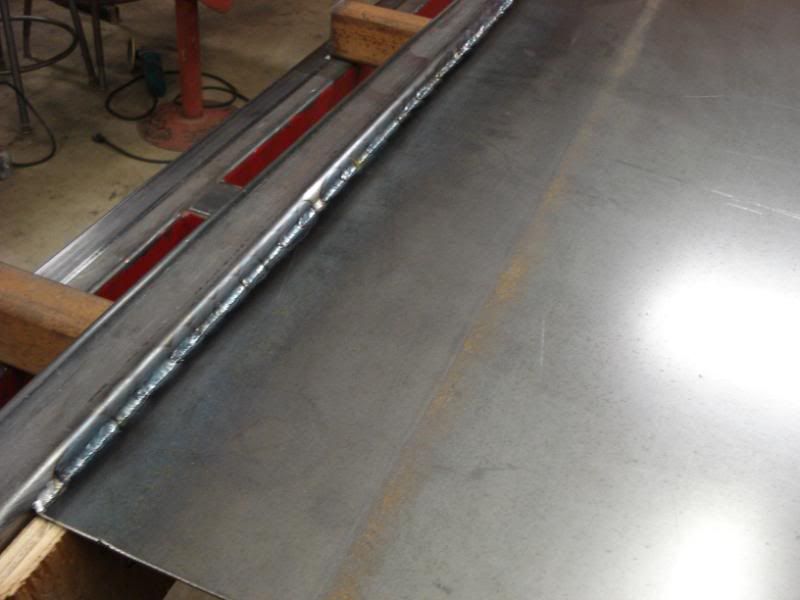
I decided to make my belly pan out of something substantial... sheet metal seems kinda wimpy, so I went with some 10ga (.120 wall)
According to the rule book, there is such a thing called a "Belly pan" and a "floor board" and "secondary flooring".
As many of you know, if you run a belly pan, you need secondary flooring. And if you run a floor board... it goes on top of the frame rails, so you don't.
Their rationale is that in a wreck, everything "body panel" wise is going to fly off... including the belly pan... or if you blow a tire, and your bell pan is below your scrub line, it's gonna get ripped off (and if there is nothing to keep your legs safe, they'll get ripped off too

)
Not on this one.
I welded it right to the inside of the frame rails...
I am hoping to petition the powers at be to not have to run secondary flooring... I mean, if this thing comes off... I got bigger problems that having my legs ground down to my knees.
We'll see.
Anyway, I screwed some pieces of wood to the inside of my rails, welded the rails to my brother John's little JIG, and then set the pan onto the tops of the wood.

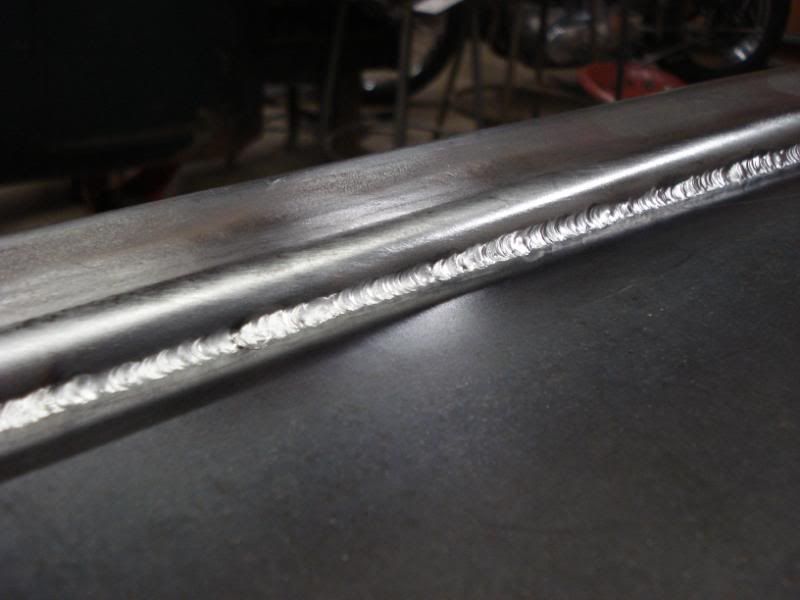
As you can see in the above pic... I made some nice, evenly spaced tack welds with the TIG.
I was feeling cocky, and decided to weld it completely. I did 1" stitch welds, only four at a time per-side, and then split the differentce each time around... until it was all welded. Whew!
By the time I got to the other side, I would check to see that it was completely cold, then start the rotation again.
I did this until it was fully welded... about 3 hours of welding.
wire brushed off...

On its side

There are some funky camera angles going on here... but in this pic you can see the frame at ride height... 3" at the lowest point and 5" at just in front of the rear tire... it'll be 4" low just behind the front axle:
The wheel base is set at 98"... I figured if fuel altereds could run 220 with a 98" wheel base... I could run 120 with it...
Besides, "Ninetyeight inch wheel base" just sounds cool!

I was totally stoked when I cut the thing loose from the JIG... it didn't budge at all.
Next up? Mount the front and rear axles in the JIG and start building suspension parts!
Sam


