Author Topic: V4 Dodge  (Read 238067 times)

0 Members and 1 Guest are viewing this topic.

Offline Stan Back

  • Hero Member
  • *****
  • Posts: 5889
Re: V4 Dodge
« Reply #240 on: March 18, 2012, 06:50:59 PM »
That engine looks taller every time I see it.  Wonder how it compares to a Buick 8?
Past (Only) Member of the San Berdoo Roadsters -- "California's Most-Exclusive Roadster Club" -- 19 Years of Bonneville and/or El Mirage Street Roadster Records

Offline Milwaukee Midget

  • Global Moderator
  • Hero Member
  • ***
  • Posts: 6663
    • Milwaukee Midget Racing
Re: V4 Dodge
« Reply #241 on: March 18, 2012, 07:12:07 PM »
Wonder how it compares to a Buick 8?

'bout 4 fewer cylinders, by my count . . .

Sorry, Stan, just couldn't let that one alone . . .

"Problems are almost always a sign of progress."  Harold Bettes
Well, I guess we're making a LOT of progress . . .  :roll:

Offline SPARKY

  • Global Moderator
  • Hero Member
  • ***
  • Posts: 6912
Re: V4 Dodge
« Reply #242 on: March 18, 2012, 08:41:21 PM »
I would bet the studs and/or the head bore holes are not parallel  all to one another
Miss LIBERTY,  changing T.K.I.  to noise, dust, rust, BLUE HATS & hopefully not scrap!!

"Security is mostly a superstition. It does not exist in nature, nor do the children of men as a whole experience it. Avoiding danger is no safer in the long run than outright exposure. Life is either a daring adventure or nothing."   Helen Keller

We are going to explore the racing N words NITROUS & NITRO!

Offline zenndog

  • Full Member
  • ***
  • Posts: 243
Re: V4 Dodge
« Reply #243 on: March 18, 2012, 09:35:00 PM »
Sparky-the original head bolts on the Dodge engine were 7/16". Rich changed them to 1/2" studs. The holes in the head were 1/2", but when Rich reamed them last week they turned out to be tapered, they become smaller at the bottom. Hopefully the larger reamer will work. Maybe rich will comment here on what he thinks about the whole thing. Z

Offline Jack Gifford

  • Hero Member
  • *****
  • Posts: 1566
Re: V4 Dodge
« Reply #244 on: March 19, 2012, 12:39:56 AM »
I'm certainly not accustomed to seeing that much negative deck-height of a piston- looks like about 3/8"? How far below the deck does that place the top ring land at TDC? What's a cylinder's resulting chamber volume? Compression ratio?
M/T Pontiac hemi guru
F/BFL 1-mile Loring record 2020

Offline RichFox

  • Hero Member
  • *****
  • Posts: 2663
Re: V4 Dodge
« Reply #245 on: March 19, 2012, 08:58:55 AM »
If you go back and look at the pictures of the head you will see that the coumbustion chamber is giantiac. When this head was made 4.6 to 1 was pretty a normal CR. Think of it as a regular flat top piston with a big pop up. The rings are still in the usual location. The resulting CR is 9.5 to 1. I do agree that the studs are not at a perfect 90 degrees to the deck. Even though they look like they are. Since the original haed was held on with 7/16 studs I have decided to turn the shanks of these studs to 7/16 rather than ream the holes further. A local shop that builds several sprint car engines tells me that he grinds the shank on ARP studs to clear the bolt holes on aftermarket heads. Feels that by now SBC heads should be right on and thinks the threads rolled into the stud is less that perfect. I have not had this happen before. But I have not fooled with anything quite like this before.
« Last Edit: March 19, 2012, 09:00:41 AM by RichFox »

Offline RichFox

  • Hero Member
  • *****
  • Posts: 2663
Re: V4 Dodge
« Reply #246 on: March 25, 2012, 02:07:38 PM »
Turning the stud shanks to 7/16 did the trick for having a free turning installation. Since the engine originally had 7/16 studs I believe the ARP studs will be fine with the turned down shanks. How the holes in the head got the taper they have is a mystery. Maybe someone hogged them out with a hand drill sometime in the past.

Offline Milwaukee Midget

  • Global Moderator
  • Hero Member
  • ***
  • Posts: 6663
    • Milwaukee Midget Racing
Re: V4 Dodge
« Reply #247 on: March 25, 2012, 02:14:24 PM »
Rich, I'm in awe on this one.  My only question at this point is given the large crown height, are you confident you have enough clearance in the head to accommodate any piston rock?
"Problems are almost always a sign of progress."  Harold Bettes
Well, I guess we're making a LOT of progress . . .  :roll:

Offline protype

  • New folks
  • Posts: 12
Re: V4 Dodge
« Reply #248 on: March 26, 2012, 03:48:34 PM »
Rich,

What are the throttle bodies off of that you are using?

Offline RichFox

  • Hero Member
  • *****
  • Posts: 2663
Re: V4 Dodge
« Reply #249 on: March 26, 2012, 05:01:57 PM »
The cumbustion chamber is a good 1/8 inch larger than the bore. I am using Ford 4.6 SOHC throttle bodies.

Offline protype

  • New folks
  • Posts: 12
Re: V4 Dodge
« Reply #250 on: March 26, 2012, 05:11:44 PM »
Thanks,

I assume you made the barrel valve.

Offline RichFox

  • Hero Member
  • *****
  • Posts: 2663
Re: V4 Dodge
« Reply #251 on: March 27, 2012, 10:09:03 AM »
The pump, barrell valve, and hoses are from Hilborn

Offline zenndog

  • Full Member
  • ***
  • Posts: 243
Re: V4 Dodge
« Reply #252 on: April 07, 2012, 09:52:42 PM »
I think he posted this but Rich ended up turning down the OD of the studs
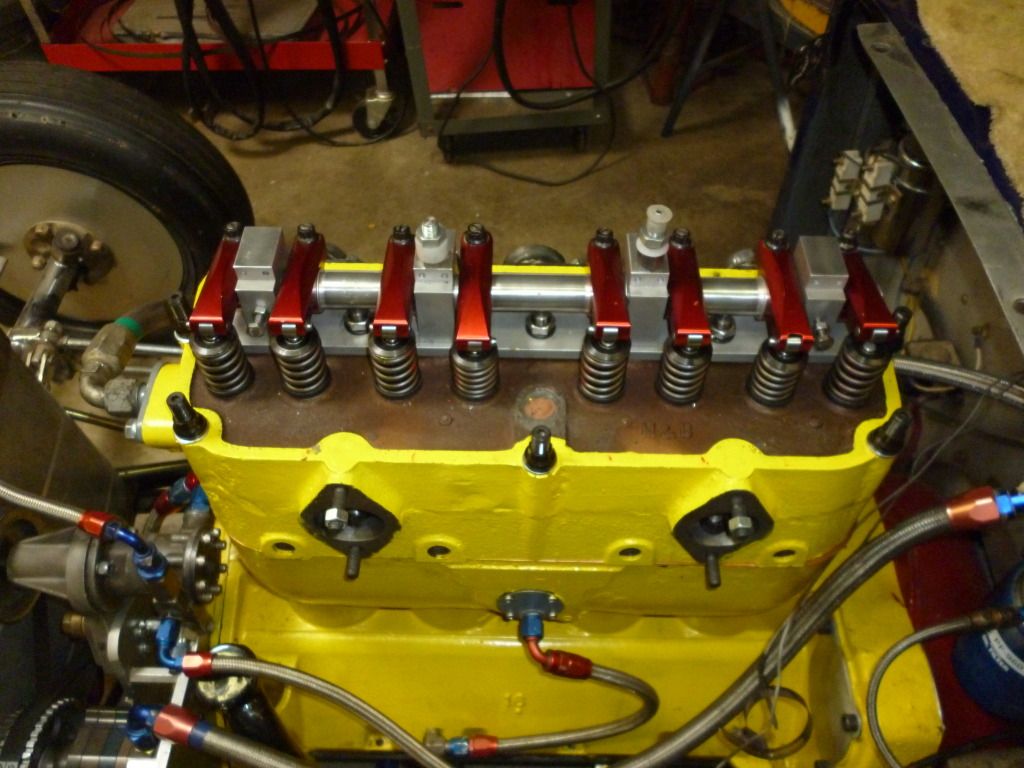
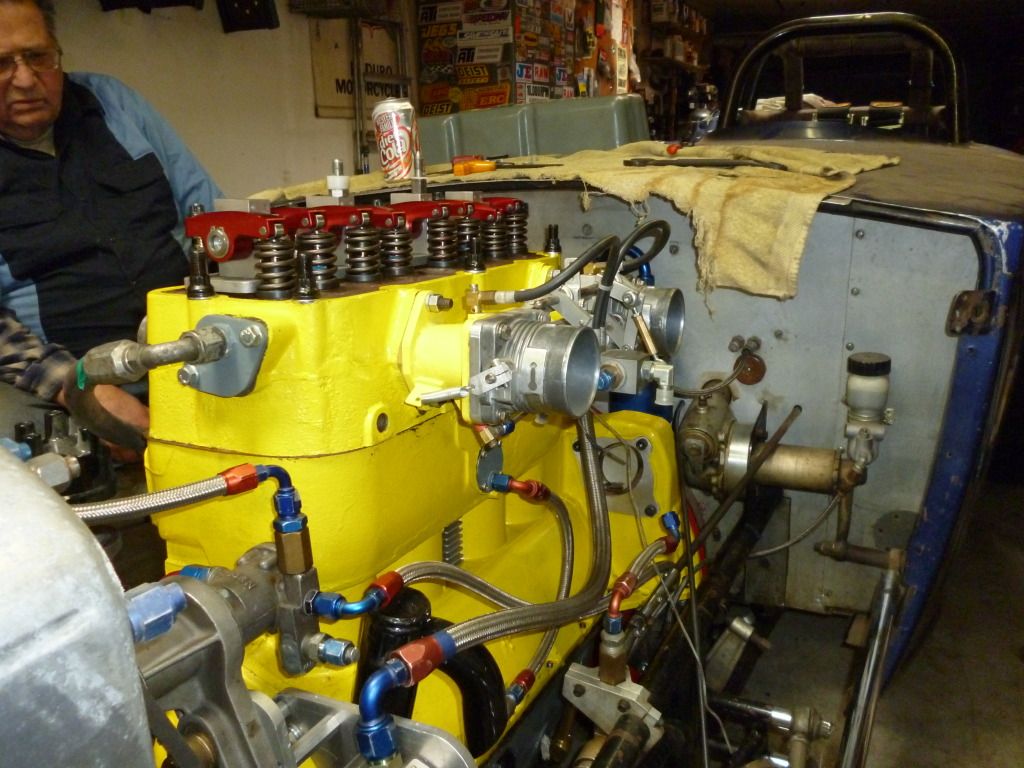
Last Friday I stopped in to see Rich before heading down to LA. I helped him set the head on the engine. During the week he torked down the head.

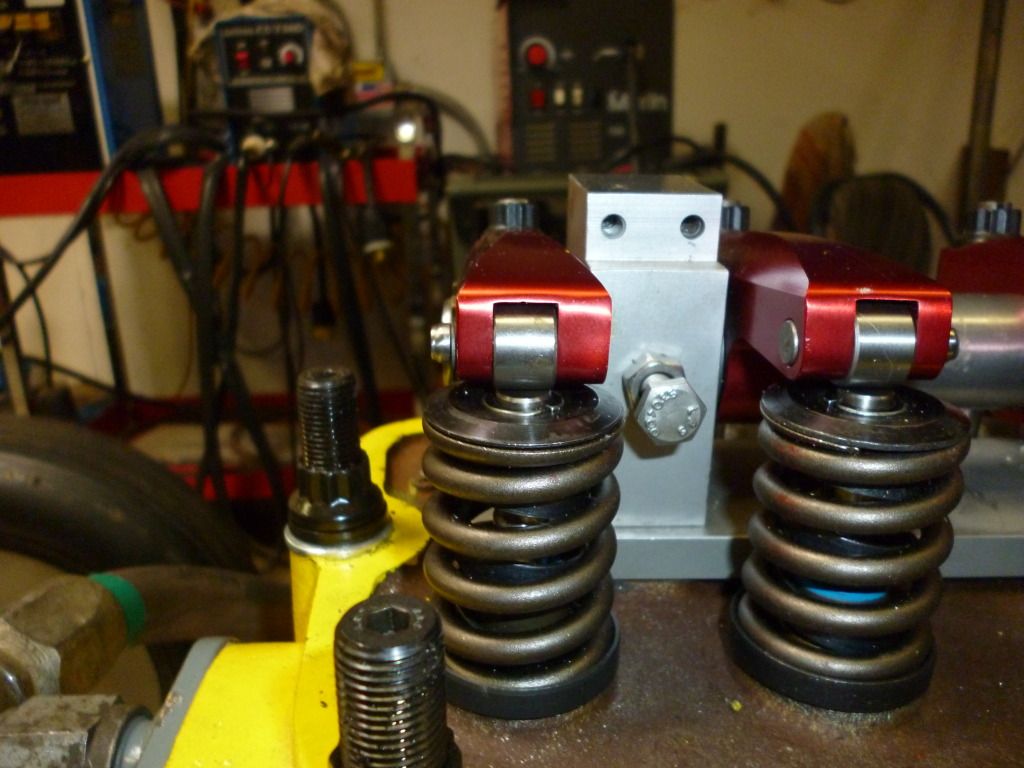
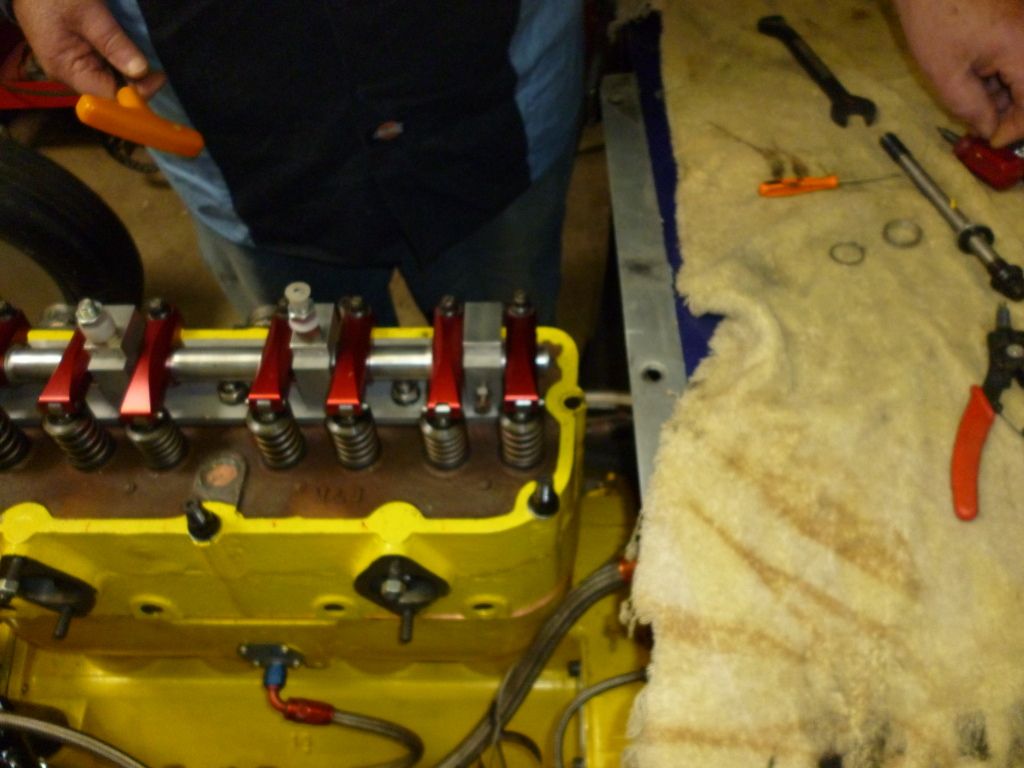
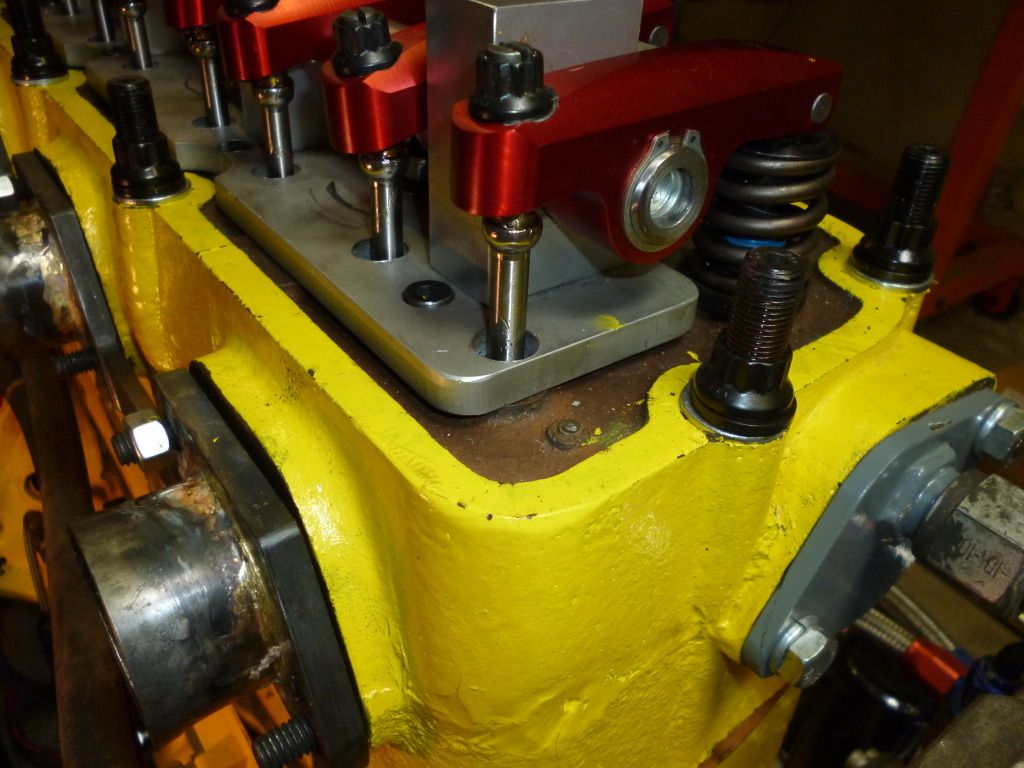
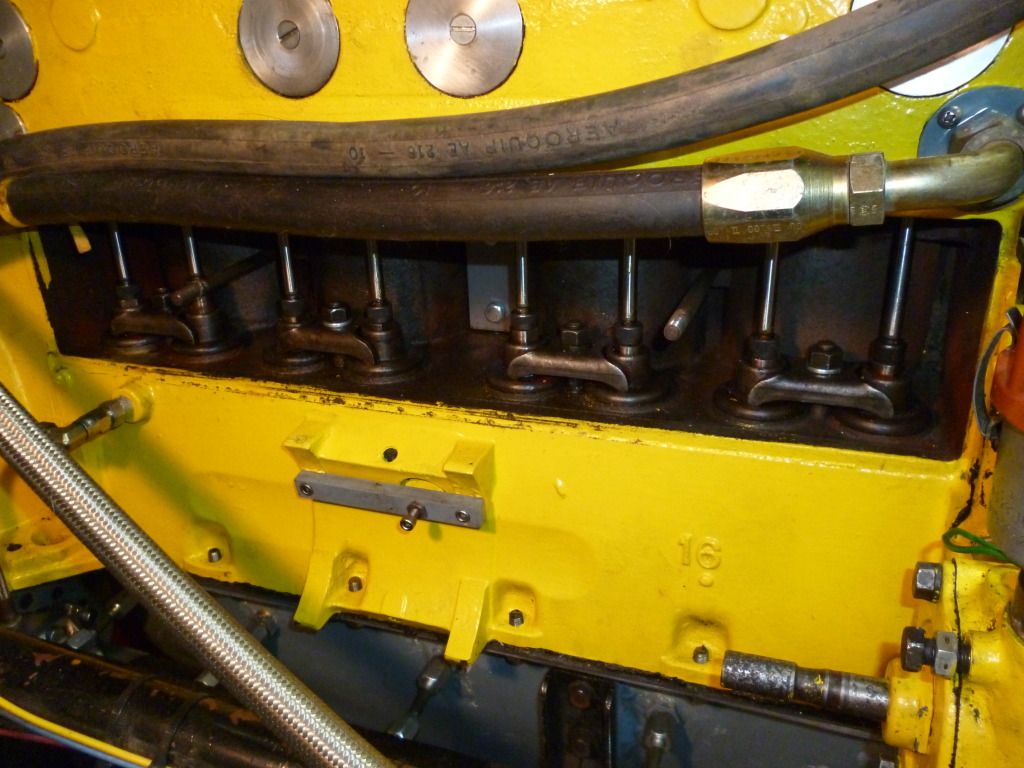
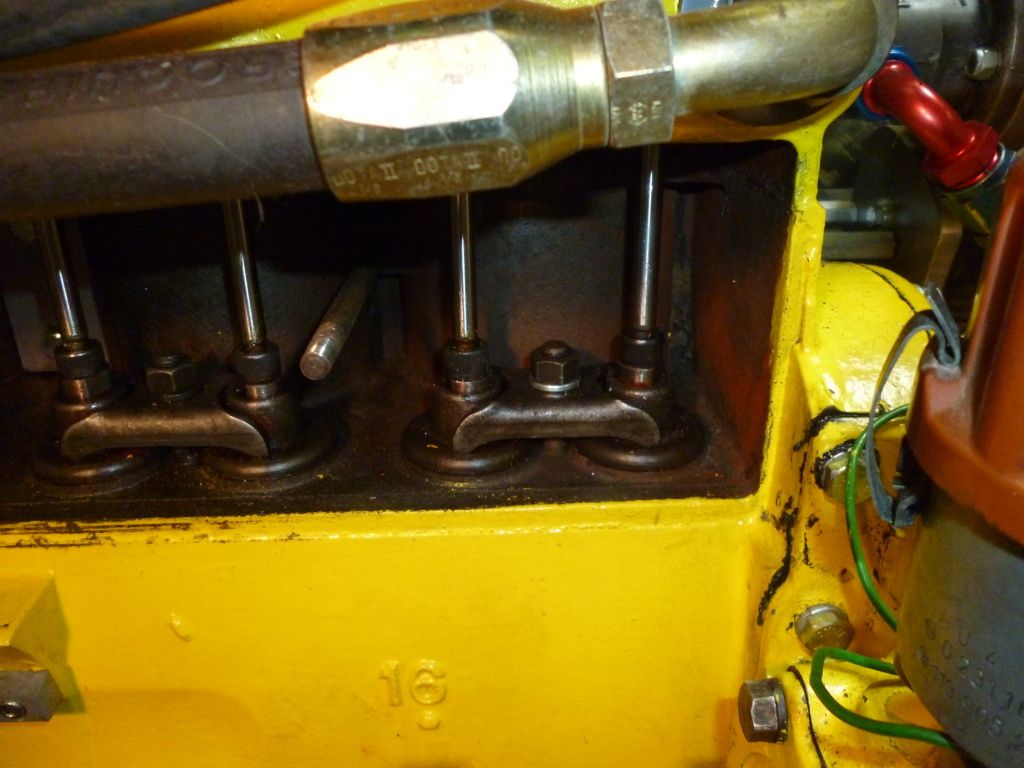
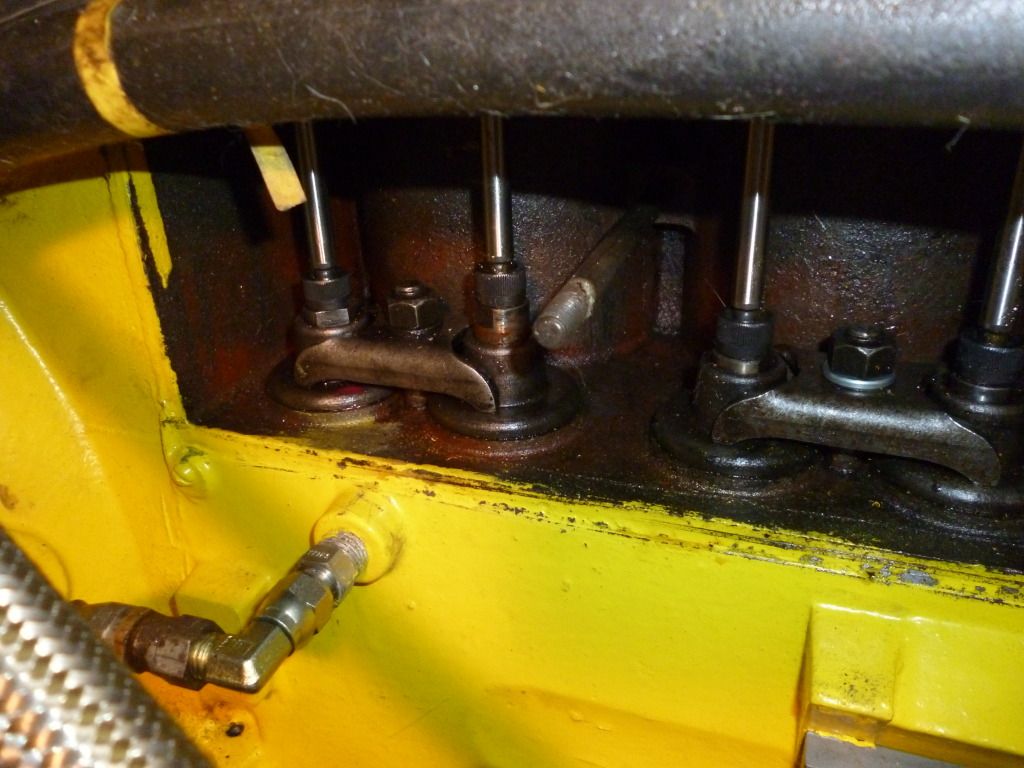
We started off today by switching around the end rocker arms because the pushrods were either too close to the hole in the head or already rubbing a little. The roller is slightly offset so just spacing the rocker to fix the pushrod issue caused the roller to be not centered over the valve


Before, Front rocker, roller view


Before, Rear rocker, roller view


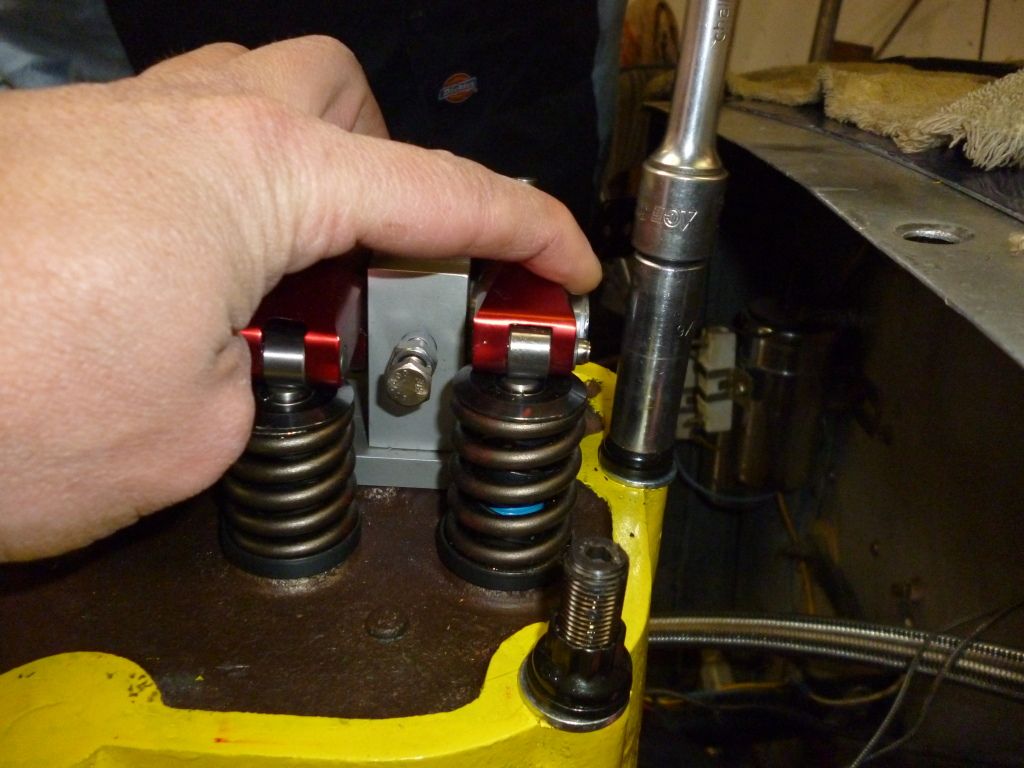
One stud on the rear of the engine and one stud on the front of the engine needed to be removed to take off the rocker arm. After the retainer was removed of course!


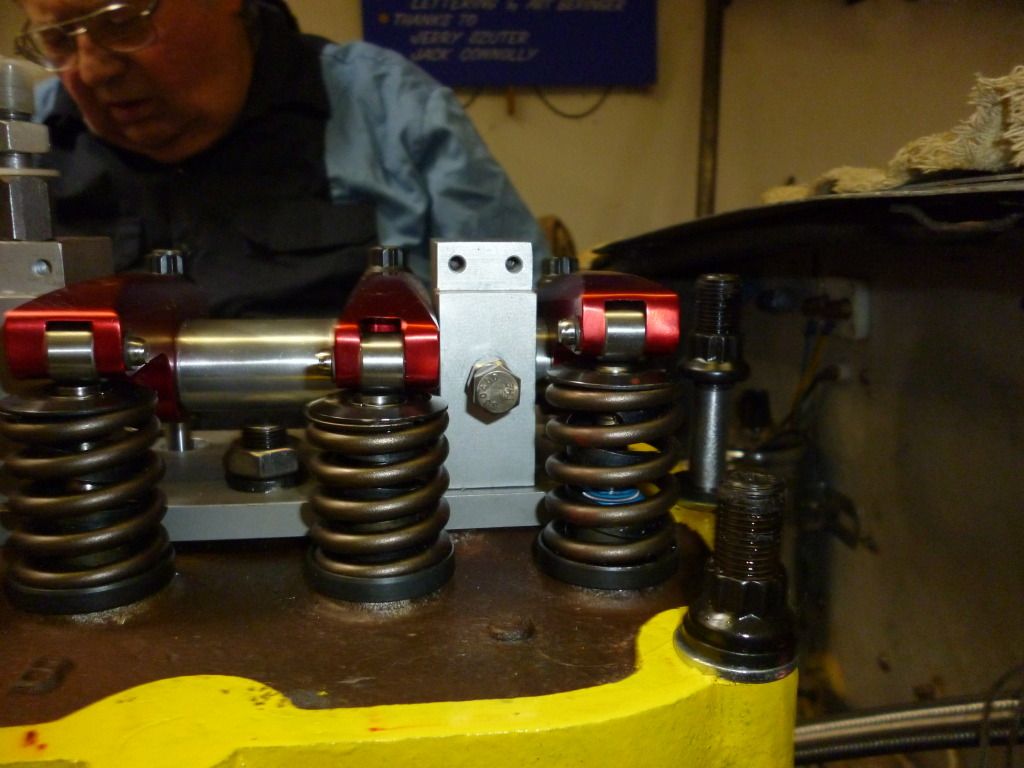
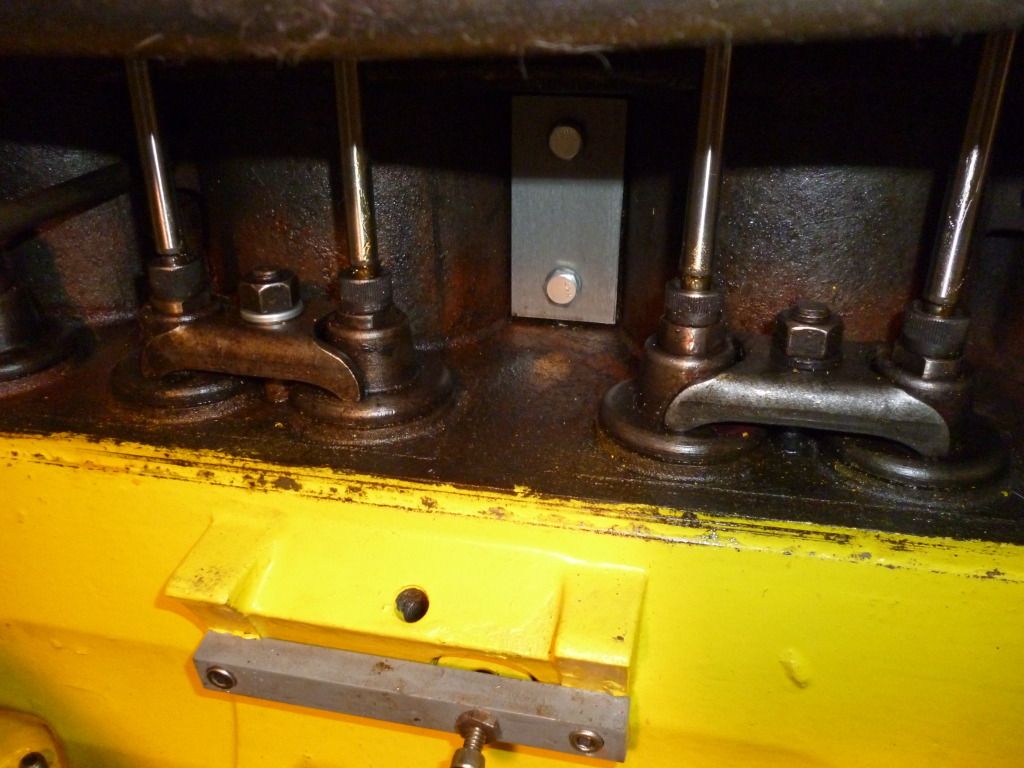
The spacers had to be switched around and one of them modified a little

After, Front, roller side


After, Rear, roller side


The angle on the second pic was off, but the rear was still a little off the valve. The main issue which was hard to see anyway was the rubbing of the pushrod on the head and that is now fixed!

After the rocker assembly was back together we set the valve lash, .026 intake and .028 exhaust, as per Dema Elgin’s instructions. We chatted about it for a while because it seems like a lot when you are double checking everything.  Rich was going to call Elgin and ask why the lash was so great. We figured it must have to do with allowing the pressure to not come on until the lifter is off the steepest part of the ramp on the cam lobe.  I am certain someone will chime in.

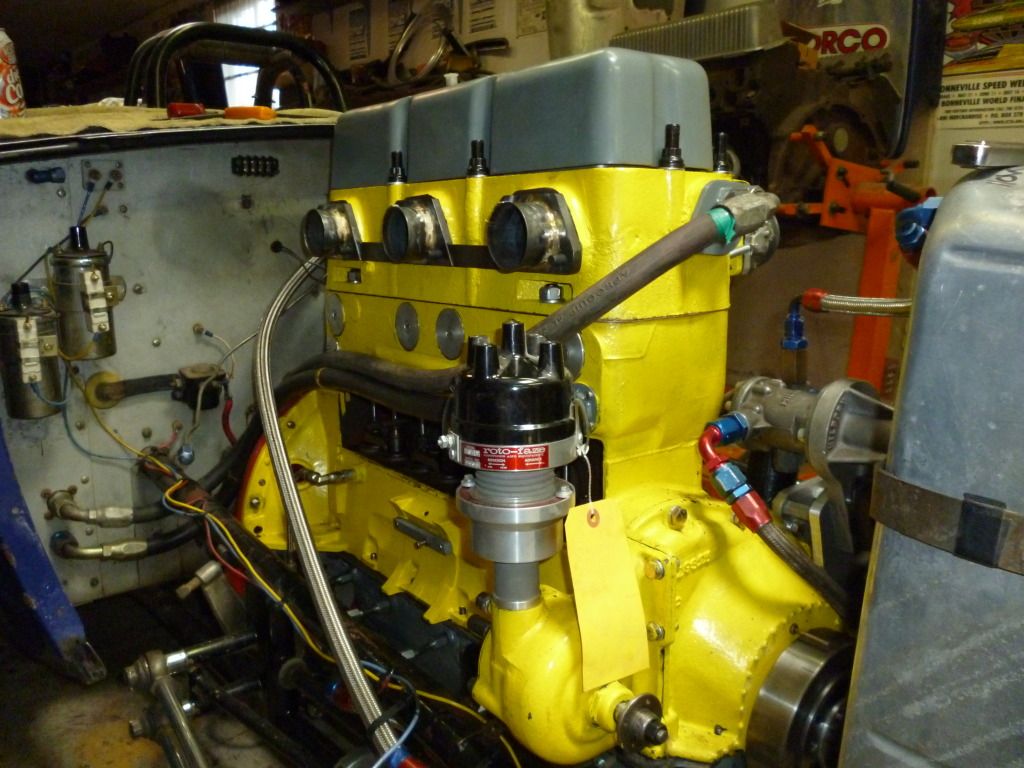
Next Rich moved on to bolting on the intake

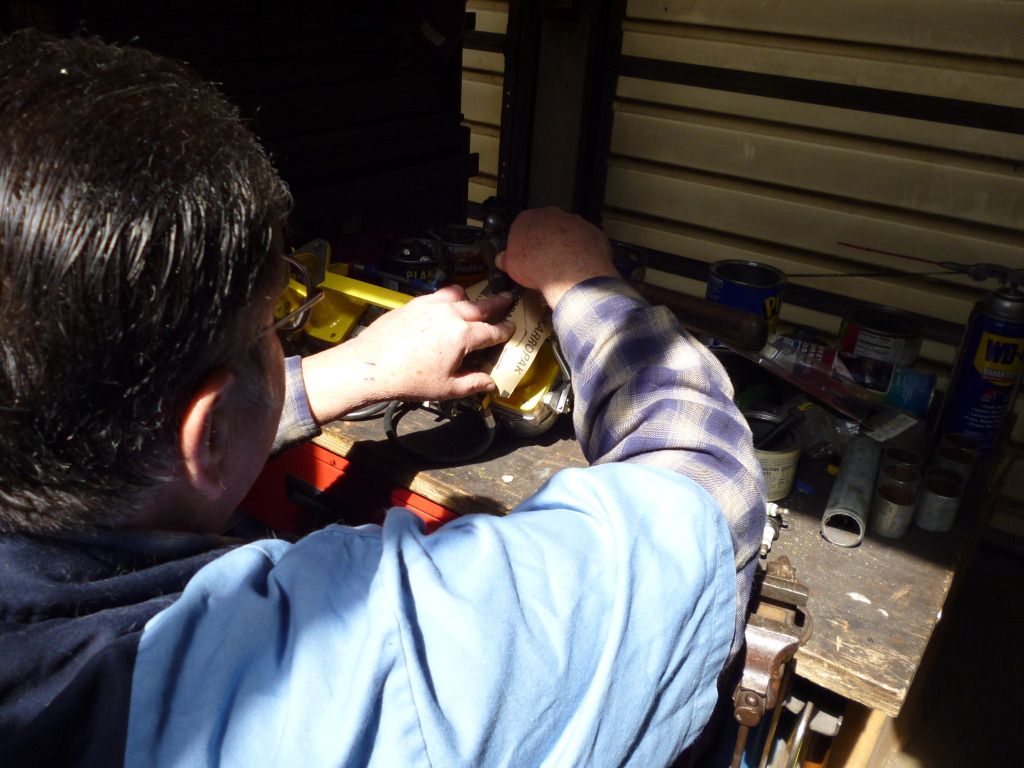
Here he is making the gaskets


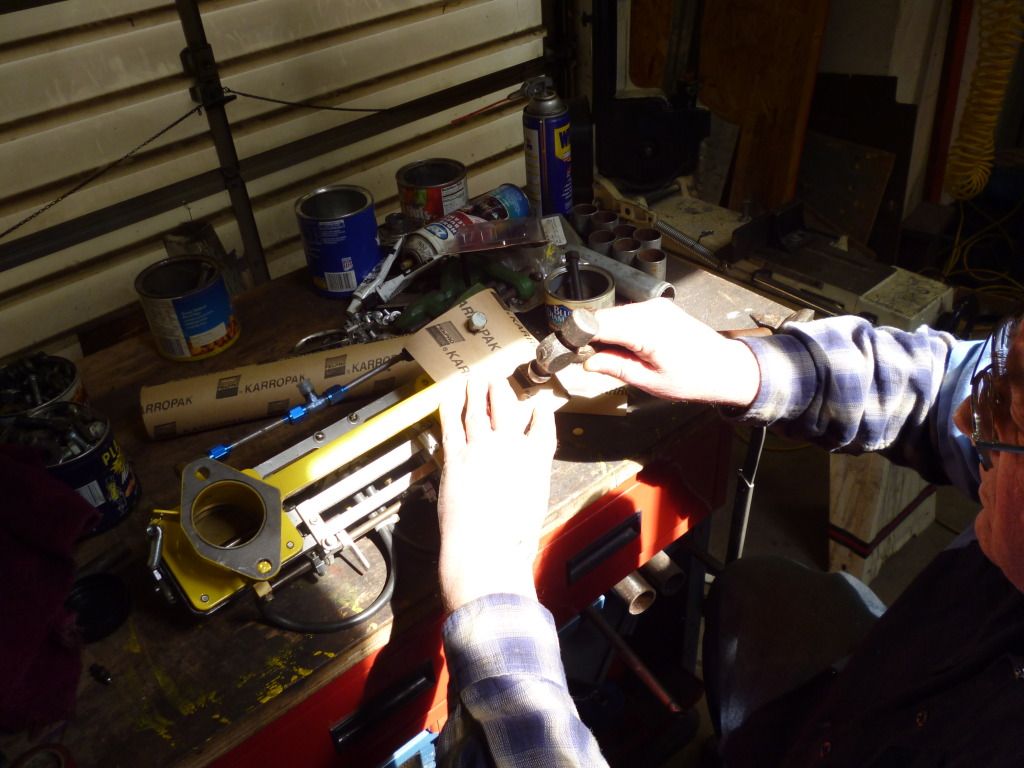
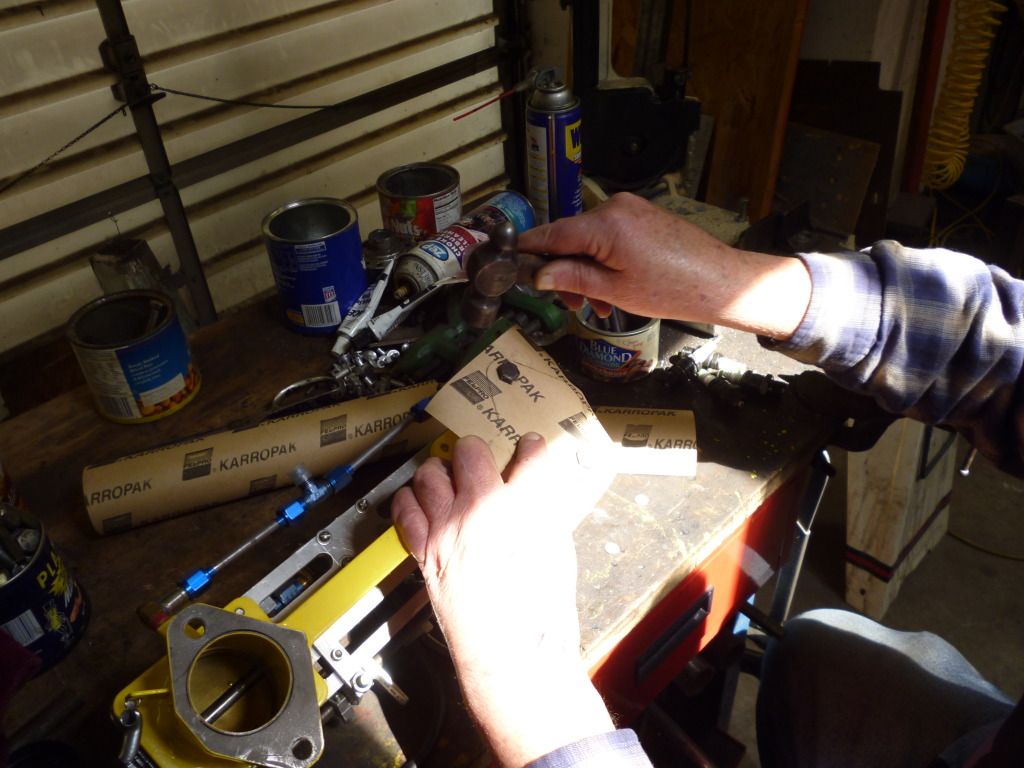
Intake assembly bolted on


The fuel line needs to be made up to finish the intake, that will wait for another day

Dodge/Morton & Brett problem of the day, oil return issues.

Here are the pics with explainations

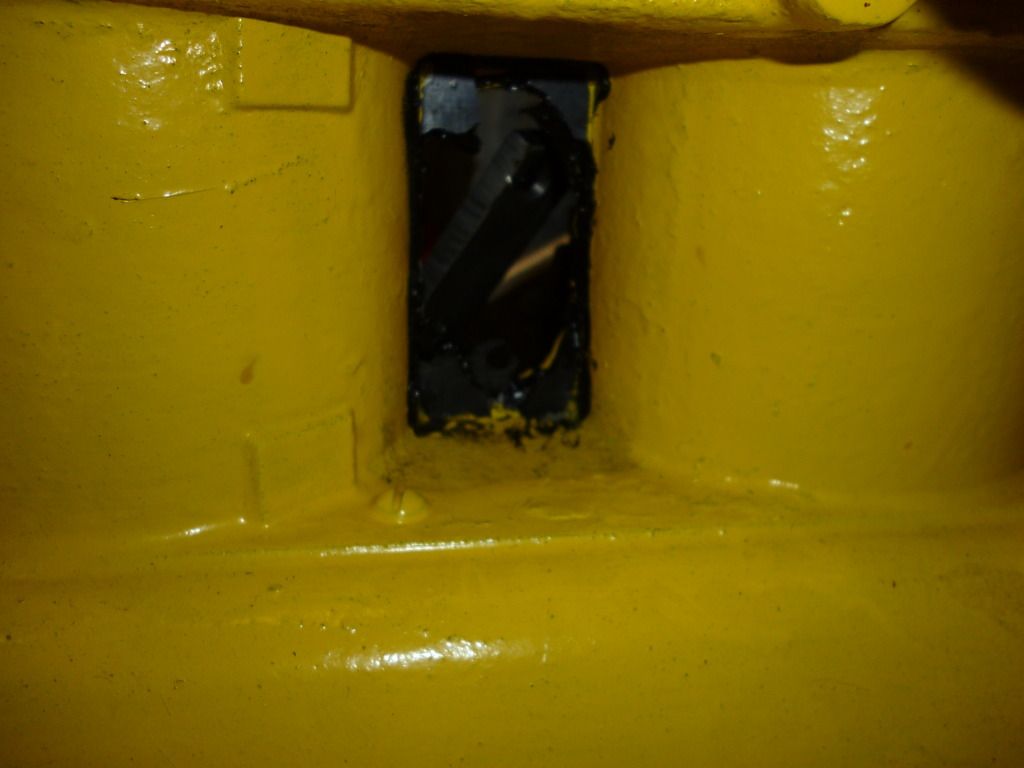
First is hard to see but remember this pic from a while back, it is a detail shot of the M & B head where the rocker shaft assbly mounts. Notice the raised areas in the casting where the original rockers mount?


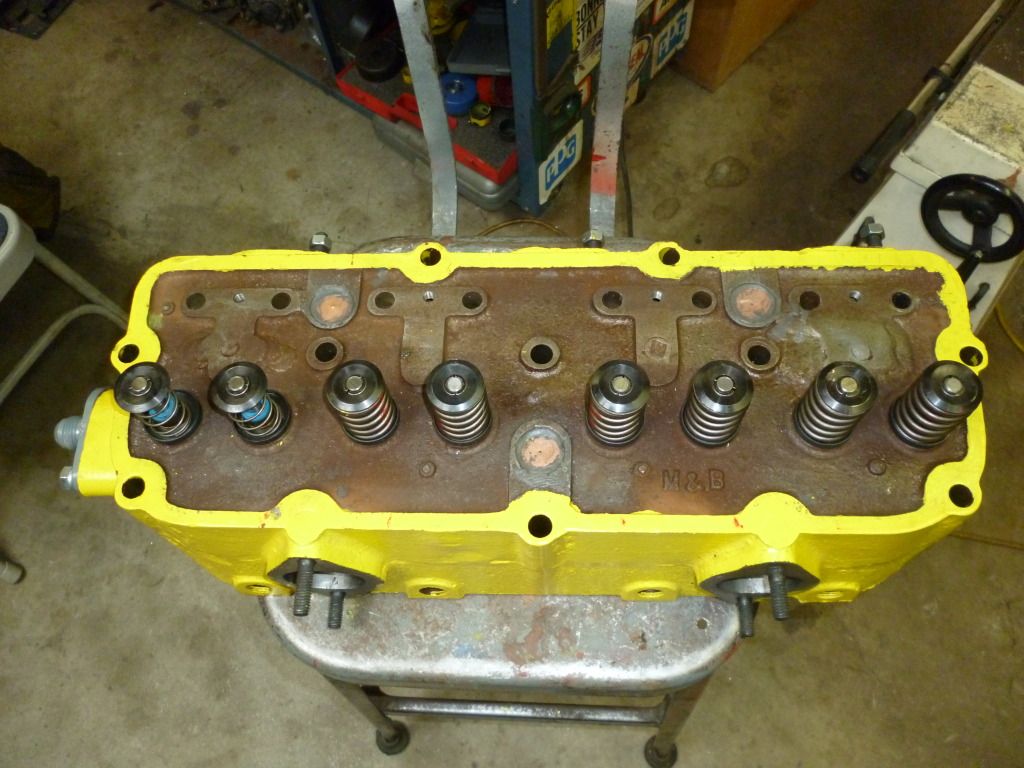
Now look at the way the aluminum plate that forms the base of the rocker assbly sits


The oil needs to drain over the aluminum plate to drain into the lifter gallery.

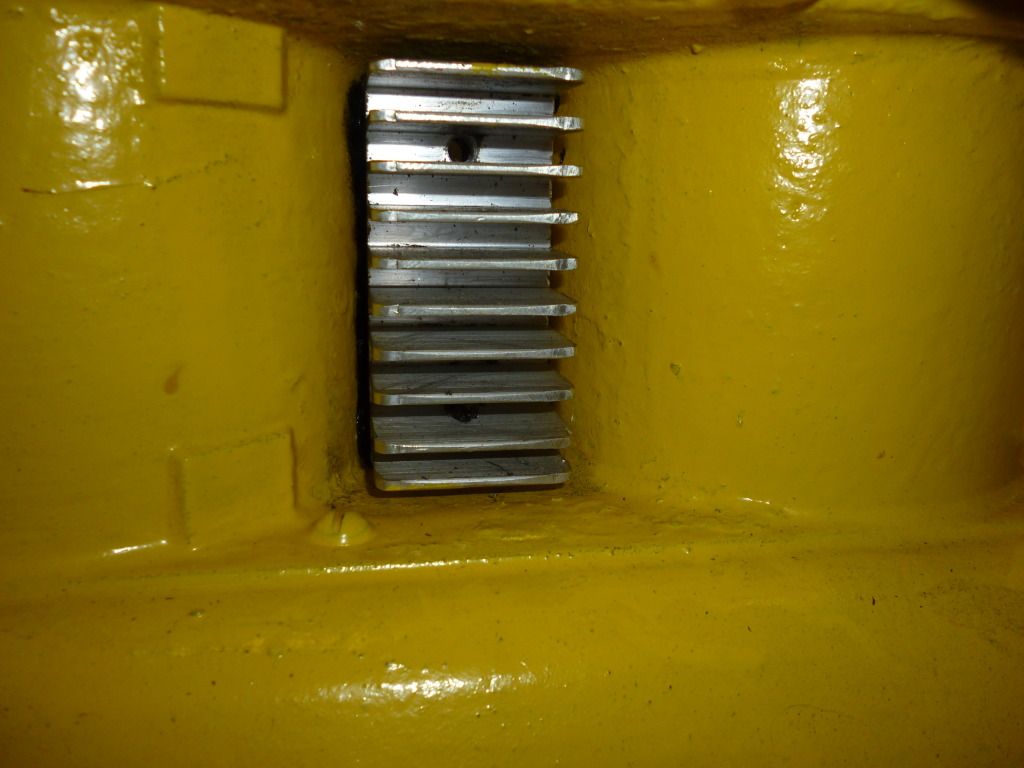
Here are some pics of the lifter gallery. Look closely for oil return issue #2


In case the pictures are not clear…..there is no provision for oil to return to the bottom end!

After discussing different options, like disassemble the engine and drill some holes, run lines from the side cover and valve cover to a hole drilled in the distributor drive housing, Rich decided to drill a return line into the cover for the through hole between the #2 & #3 cylinders.


The plan is to put a “T” fitting on the return that Rich put in the unused intake port in the block.

Here is a pic


I am sure Rich will think about it during the week and perhaps have another answer or finish off the return we discussed.

In the meantime, some motivational pics


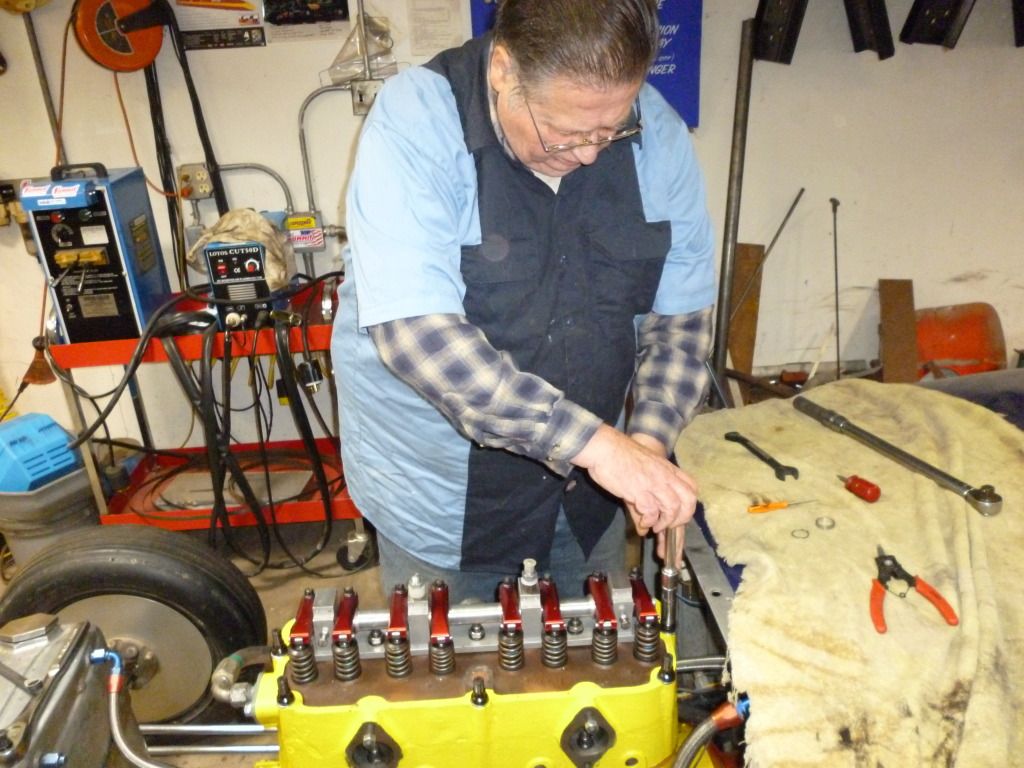
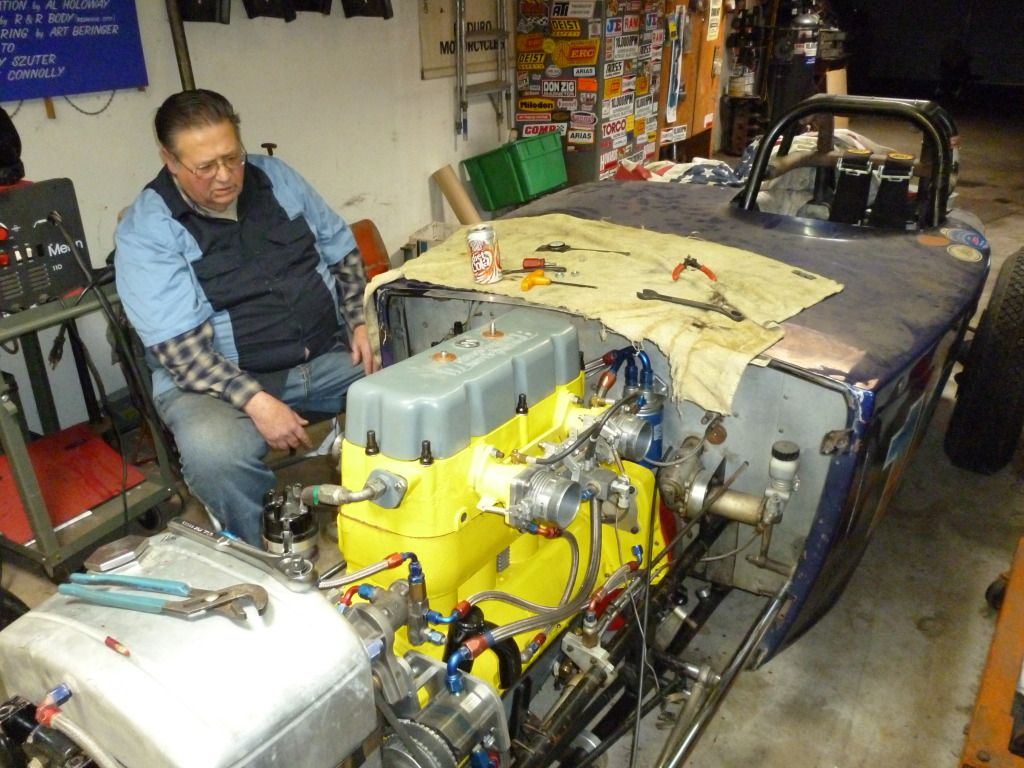
One last pic of Rich taking a break and thinking about the oil issue.


At this point we took a drive up to the shop where Rich’s bantam is being worked on….but they weren’t in today.
« Last Edit: April 07, 2012, 09:56:15 PM by zenndog »

Offline zenndog

  • Full Member
  • ***
  • Posts: 243
Re: V4 Dodge
« Reply #253 on: April 08, 2012, 04:38:26 PM »
Rich wanted to point out that the torking down of the head involved attaching his lift so he could lift it to apply copper coat to the head gasket and also so he could start the nuts that go on the short studs which are under the two outside exhaust ports. If I am lucky he hasn't posted that while I was typing this! :-o

Rich also pointed out that the nuts had to be tightened down a little at a time as the head was lowered into place.

Rich also had to tork the nuts under the exhaust using a crows foot ratchet attachment, as well as the nuts under the rocker shaft. Which he said was a little bit of a pain in the $#@.

Wish I could have been there to snap pics but I was in LA and Ojai where I travel on the weekends for work on occasion.

It is hard to write down every step when I am helping, let alone when I am not there to watch and take pics.


Coming in the future, to name a few things that stick out....
                               Attach priming pump make and attach fuel line for the priming pump
                               make and attach fuel line from shut off valve to barrel valve for injectors
                               fabricate headers

« Last Edit: April 08, 2012, 06:08:22 PM by zenndog »

Offline zenndog

  • Full Member
  • ***
  • Posts: 243
Re: V4 Dodge
« Reply #254 on: April 15, 2012, 03:33:44 AM »
I will start off with a couple of pics of what Rich did during the week to deal with the oil return issues.

First he ended up running a return line from the back of the valve lifter cover to the rear cover of the distributor gear housing.

Here is a pic


Then he cut the rear corner off the rocker arm plate to allow oil to drain through the rear pushrod hole without needing to spill over the 1/2" plate and fill the valve cover up with oil.

Again....here is a couple of pics


Now for what we worked on today, removal of exhaust gasses from the engine to outside of the roadster.

Rich didn't want to let me complicate things by over thinking so he just jumped in and started cutting tubing


Copper in place to protect the valve cover


I cut and tacked the first pipe. Then I cut a second pipe and trimmed it a little at a time till it fit. Once it fit I mrked it with a grease pencil and cut out a hole with the plasma cutter


Hole cut and back on the engine


Tacked together, oh and I guess the down pipe is tacked on also


Turnout tacked on


After cutting and gradually fitting the last pipe from the third exhaust port, again it was traced with a grease pencil and cut out with the plasma cutter. You will have to take my word about the in between stuff because I took no pictures while I was cutting & trimming.


Tacked in place. Rich is going to have the headers finish welded by a pro. The coated black


Thats all for today

Primer pump attached to frame and fuel lines run to it

One last fuel line to connect the shut off valve to the injectors

Some wiring

Add gas

Add oil

Time to fire the Dodge is getting closer, much closer