Thanks Mike, watching your build with interest too.
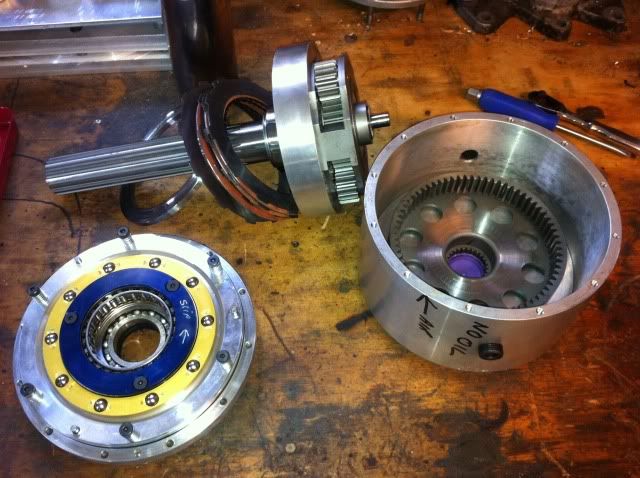
Had to reclock the air port relative to the fill and drain port so thought I'd have a look inside and work out what spares I wanted to carry and so that I got a look at how it worked so I can troubleshoot it if it misbehaves on the salt.
General unit:
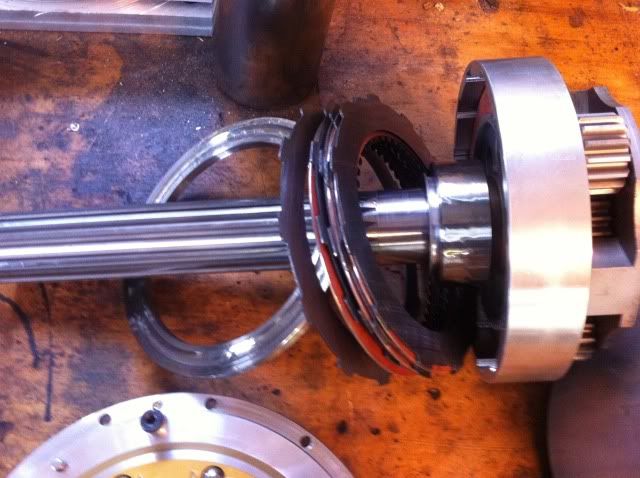
Clutch pack:
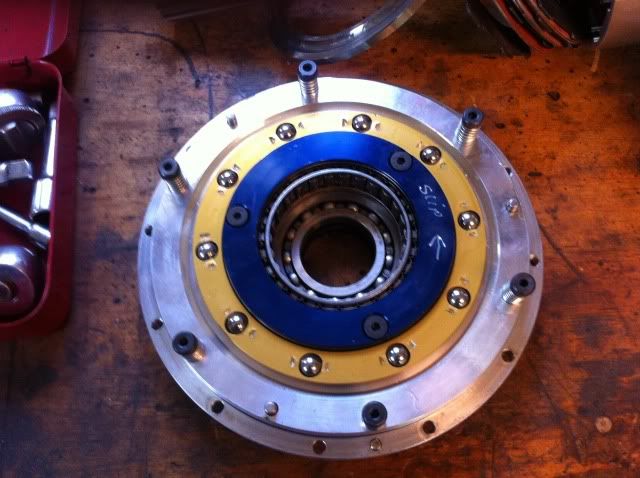
Sprag clutch and thrust bearing:
Very happy with the way it's built, they are proven units in drag racing with more hp and traction than I will have.
It will be easy to put a pump and cooler on if needed, should be ok though I think as it will be the first shift and then just a locked unit for the rest of the run.
Things I like other than it being simple and strong:
O ring seal between cases.
Common seal and bearing sizes.
Jacking bolt holes to split the cases that the case retaining bolts screw straight into.
Only downside which is not a reflection in the build but rather how I'm using it is that it has 8 mounting holes on each end and the 2 halves are held together with 12 bolts.
Means can only clock the air port at 3,6,9&12 o'clock.
Again definitely not a build quality issue, I was just hoping to set the air fitting at 45 from vertical.
Cheers
jon


